The "How to do Oldhammer" Thread

i failed to take a picture of the miniatures, for the new 'how to do oldhammer' project before basing, assembling and beginning painting, so more by error than design, it's going to be a surpirse as the different elements are painted. to that end, i won't explain the back ground until i post the finished project (hopefully, with half decent photo's).
so without further ado, here are some work in progress shots of the character model, a level 5 wizard; well, withc actually: elise by reaper miniatures (http://www.reapermini.com/), purchased by mail order from spirit games (http://www.spiritgames.co.uk/) well over a decade ago.
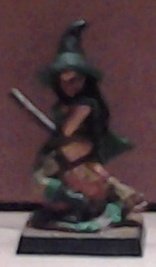
I also failed to take a picture of her unpainted or even in plan undercoat, so here she is with the eyes of her pumpkin seat painted in:


next her skin:


she's from the south of the empire, near the border wth tilea, so dark hair is the order of the day:


sorry the photo's are still such poor quality.
 

Attachments

  • Elise undercoat cropped.jpg
    Elise undercoat cropped.jpg
    94.4 KB · Views: 2,027
  • Elise skin cropped.jpg
    Elise skin cropped.jpg
    99 KB · Views: 2,027
  • Elise hair cropped.jpg
    Elise hair cropped.jpg
    117.9 KB · Views: 2,027
Try getting a little more distance between the object and your camera... you've got nice focus on the window in the background. It should be the reverse. =) Unless you have a macro mode, you should be at least 30-50 cm from the mini you're photographing. Also, try putting a blank piece of paper behind it or put it in front of a white wall. The near distance + the detailed background means the camera auto focus picks up on the background instead.

Most importantly though, let the camera focus before you take the photo! =) By the looks of your photos I'd say you're too close though. Next time you'll nail it! =)
 
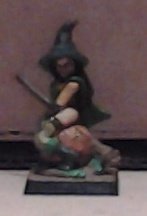
next the main cloth colours and the pumpkin skin:


i did take a separate picture of just the dark green colour, but for some reason it is too big to upload.
now with stockings and details:


she's also had a dark brown wash, and is just awaiting basing and varnishing before being ready for the tabletop.
 

Attachments

  • Elise light green cropped.jpg
    Elise light green cropped.jpg
    146.8 KB · Views: 2,023
  • Elise details cropped.jpg
    Elise details cropped.jpg
    144.6 KB · Views: 2,023
phreedh":1iq0i4ig said:
Try getting a little more distance between the object and your camera... you should be at least 30-50 cm from the mini you're photographing. Next time you'll nail it! =)

yes, that's definately part of the problem. you have much more faith in my abilities than i do!
i'm afraid there's a series of other poor quality photo's to come, which have already been taken, but i'll put your advice into practice going forwards. i've already stared using a plain background having seen the benefits in others' posts.
 
Currently working on civilians and some furniture. The civilians are from the Foundry MED210 Civilian Characters range and the furniture is from Tabletop World. I also got the Cottage. Beautiful stuff with lots of details. Best I've seen so far.

uVRknxTD


a5iVrRW2
 
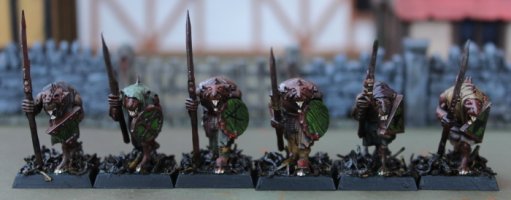
Another 6 skaven completed for the warband. 12 done now so over 50% complete. :)
 

Attachments

  • skaven 3.JPG
    skaven 3.JPG
    200.3 KB · Views: 1,965
Not much of an update, but I got my Ral Partha delivery today. Lesser Goblins and Half-Ogres courtesy of 15mm Goblins and Giants. :)

to_paint02_zps12ed5c31.jpg
 
i made a fair bit of progress a few weeks ago, but then hit a slew of real life, which stopped me getting photo's taken.
here's elise with a brown wash, and just awaiting basing, which i'm planning in doing in one batch at the end.


i took these photo's from about 30 cm away, so hopefuly they will be less fuzzy. i'm not convinced though. if needs be i'll try from further away for the next batch.


the wash spoiled her face a bit, which is a shame.

[edit] better than before, but still room for improvement!
 

Attachments

  • Elise washed1 cropped.jpg
    Elise washed1 cropped.jpg
    15.1 KB · Views: 1,845
  • Elise washed2 cropped.jpg
    Elise washed2 cropped.jpg
    12.3 KB · Views: 1,845
I've got 10 of my Muster troops (aka Imperial Guard) finished and based...and I'm quite happy with how they turned out.

I'll share pics with you eventually!

Now its time to dive into the Retained Knights (Space Marines)!

Cheers,

Blue
 
Late to the party as ever, story of my life!. Anyhooo I digress, this is a great idea, I have just read through 19 pages of posts in one go!. Every one on here is coming up with some inspired stuff, so much so that I have to have a go!. Loving Zoggin's 1:72 orcs and as I have half an Empire army sitting untouched and barely loved in the same scale I thought I may get a small force together to ultimately join them and to kick start the army again. The current body of the force is set up as an Ostland army (plenty of Kislivite influence as they share a boarder if i remember it right) and I got to thinking it would be good to have some city folk join the rough northen types, I have an image of the Ostlanders being drafted to reinforce a weekend Altdorf regiment and the disapproving commander that leads them ( lots of unwashed ruffians spoiling his uniformed ranks!). With this in mind I have ordered a set of zvesda's Austrian musketeers and pike men to pose as the Altdorf infantry. I will post some pics when they arrive. Also have to say im loving Blues Ion age troopers, brilliant proxing of the highest order, and I love the colour scheme you have given them. Anyway, enough gushing....
 
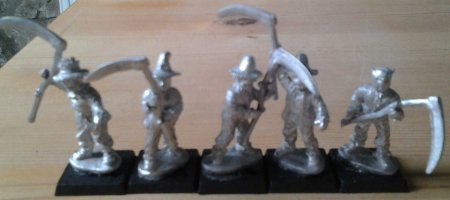
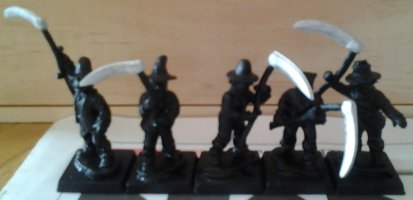
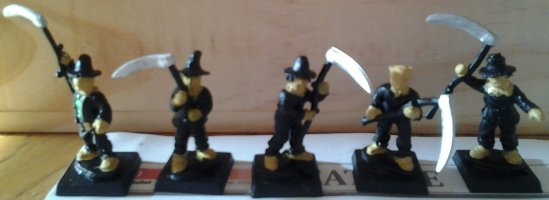
the first of the rank and file now, although these are what shall optimistically be referred to as the elites. scarecrows with scythes (two-handed weapons in wfb3), they shall act as doppelsolders for my unit.

the figures are from rapier miniatures (http://www.rapierminiatures.co.uk/page/ ... ntasy.html) and i got them in packs of ten which don't have a price on, but were presumably less than £15.00. Again i got them at a show, possibly triples. they come with random weapons, most were two-handed / pole weapons in the packs i bought.
these pictures were taken from about 30cm away so will still probably be a bit blurry. i have just tried taking photo's from about 50cm away, so we'll see if that is better when i get round to posting those. i've also had to reduce the quality quite a lot on these to make the files small enough to post here.
here they are with weapons attached and glued to slottas:


undercoated black, as you can see i leave metal that i want to be steel / iron / silver bare, as suggested in an old white dwarf:


now with what would be the flesh on most other figures; pained up as sacking in this case:


more in another post.
 

Attachments

  • Doppel Scarecrows based cropped.jpg
    Doppel Scarecrows based cropped.jpg
    61.4 KB · Views: 1,411
  • Doppel Scarecrows undercoated cropped.jpg
    Doppel Scarecrows undercoated cropped.jpg
    90.2 KB · Views: 1,411
  • Doppel Scarecrows sacking cropped.jpg
    Doppel Scarecrows sacking cropped.jpg
    127.5 KB · Views: 1,411
now with the clothing painted:


buckles, buttons, string and wood:


... and finally with my first ever use of the dip. i used some wood varnish that we had left over from the d.i.y. project, and am pretty happy with the result, in fact i wished i'd used it on elise rather than the brown wash. if anyone's interested i can post a picture of the tin.
this picture was taken more recently, and so is from about 50cm away. is it any less fuzzy?
 

Attachments

  • Doppel Scarecrows cloth cropped.jpg
    Doppel Scarecrows cloth cropped.jpg
    167.4 KB · Views: 1,407
  • Doppel Scarecrows details cropped.jpg
    Doppel Scarecrows details cropped.jpg
    220.9 KB · Views: 1,407
  • Doppel Scarecrows dipped cropped.jpg
    Doppel Scarecrows dipped cropped.jpg
    78 KB · Views: 1,407
right, onto the main unit. by the process of deduction there will be fifteen of these including a standard a musician; i've got to work on the instrument which is likely to be challenging given my total lack of sculpting skils.
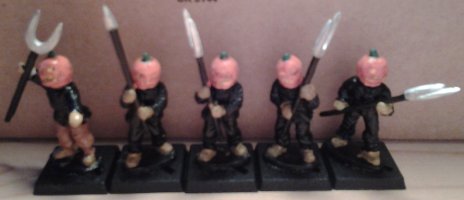
these are part of the batch from rapier miniatures. i've used the pumpkin heads for this main unit, simply because i had more of them.
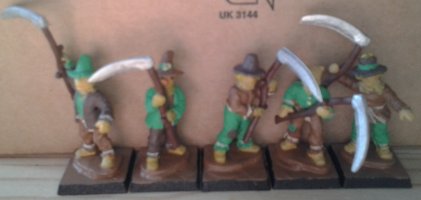
here's the first batch of five undercoated:


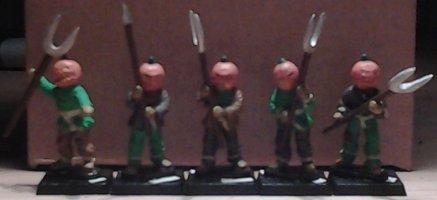
hands and feet were done as sacking in much the same way as for the doppel scarecrows, the orange required a couple of coats over the black undercoat in order to get a decent colour. i also seem to have got a bit excited with one figures trousers before realising an in progress photo was due:


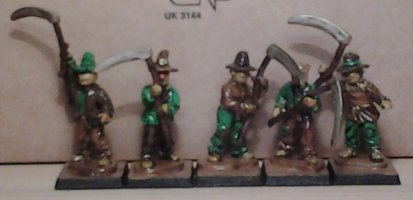
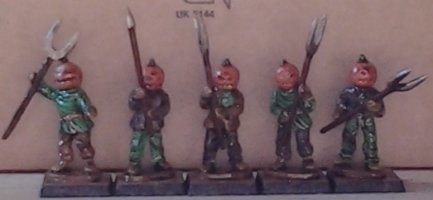
i then seem to have skipped taking any more photo's until all the base colours had been painted:


finished figures (minus basing of course) in the next post.
 

Attachments

  • Scarecrow troopers 1 undercoated cropped.jpg
    Scarecrow troopers 1 undercoated cropped.jpg
    207.8 KB · Views: 1,377
  • Scarecrow troopers 1 pumpkins cropped.jpg
    Scarecrow troopers 1 pumpkins cropped.jpg
    213.9 KB · Views: 1,377
  • Scarecrow troopers 1 details cropped.jpg
    Scarecrow troopers 1 details cropped.jpg
    47.5 KB · Views: 1,377
I'm liking these 3 a lot Cap't'n, definitely great work in giving them some more identity. Now get on with the painting!
 
Asslessman":2rthv8bx said:
I'm liking these 3 a lot Cap't'n, definitely great work in giving them some more identity. Now get on with the painting!

P...painting? What is this 'painting' of which you speak? Some French custom?
 
twisted moon":9vi6hr5f said:
here is the finished product:

Like these scarecrow/pumpkinhead troopers. Apologies if I missed your earlier posts about this, but where are the models from, and what do you intend to use them as in battle?
 
Back
Top