twisted moon's 2024

twisted moon

Moderator
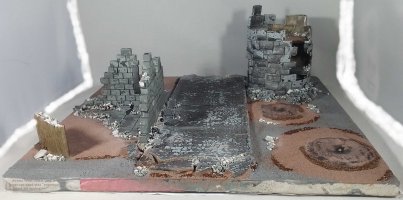
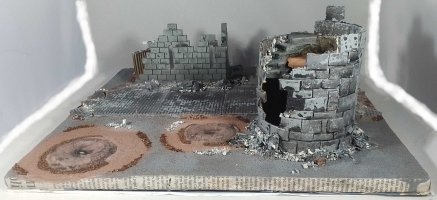
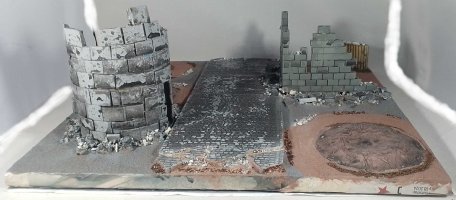
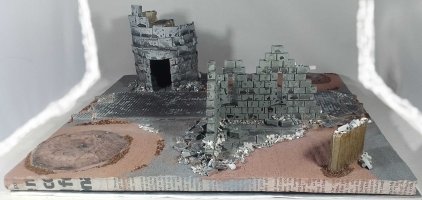
back to the road sections.

Ruins9a.jpg

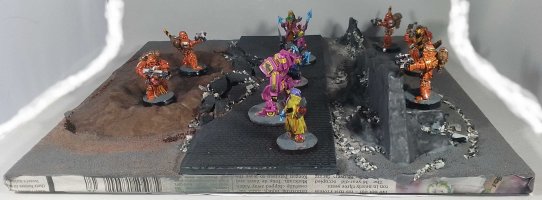
amera plastic mouldings wall and crater.

Ruins9b.jpg

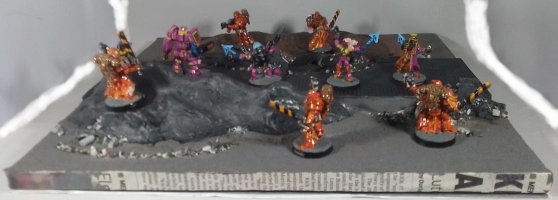
the shorter section of wall is a double layer of cork tile. with some chunks of wine cork as larger pieces of rubble.

Ruins9c.jpg

otherwise it's the same drill.

Ruins9d.jpg

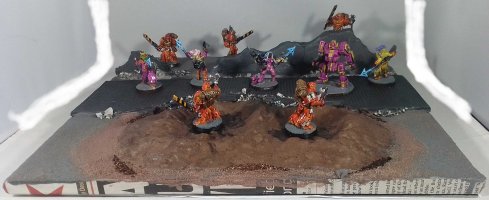
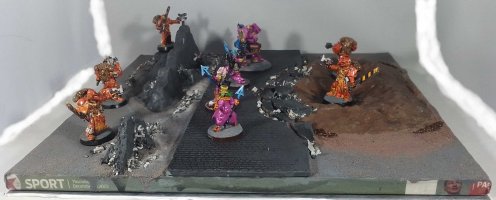
and because i use these for both fantasy and sci-fi, here's a space marine assault squad ambushing a sensei and her band.
 

twisted moon

Moderator
another one.

Ruins10a.jpg

road as before.

Ruins10b.jpg
the long wall is two of the bigger corner sections which have featured extensively on previous tiles; one was chopped up to make it an opposite corner and then extended with a cork tile pillar and wall.

Ruins10c.jpg

i also gave it a wooden upper floor from coffer stirrers on a card base with rattan basket beams.

Ruins10d.jpg

the other ruined piece is from a gw kit, but i have no recollection of where i got it. i do seem to recall that i glued it together though, so it may have been new.

Ruins 6x5.jpg

this is what i can put together from the tiles i have made so far. two-thirds of the way to the 9'x5' table i can accomodate, so potentially another fifteen tiles to make.
 

twisted moon

Moderator
That looks like a great board for some 3rd ed 40K Cityfighting.
i don’t go south of later than the river rogue trader. still should do nicely though.

What a fantastic board.

thank you very much.

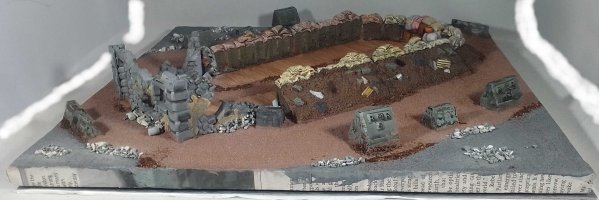
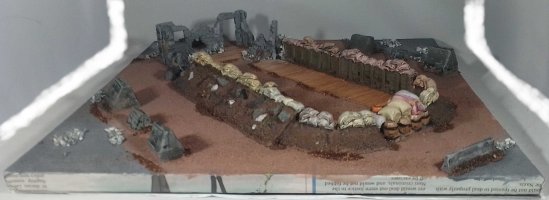
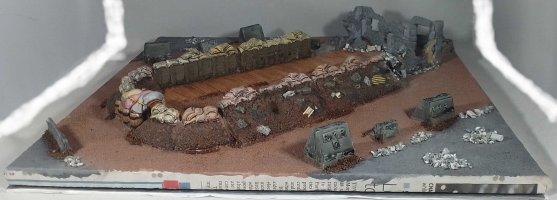
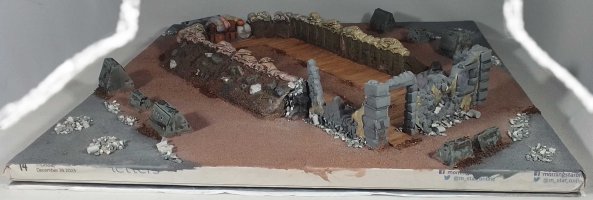
another redoubt for the next one.

Ruins11a.jpg

the remains of a bolt action normandy farm kit, which i picked up at the now deceased pheonix wargames show.

Ruins11b .jpg

the trench sections from the second warzone battlefield trenches and foxhole set (one foxhole remains to be used).

Ruins11c .jpg

an ainsty casting barricade (dungeon debris 2841) rounds out the end into more of a lozenge shape.

Ruins11d.jpg

the tank traps are sprue / flash from at least a couple of resin kits.
 

twisted moon

Moderator
another straight road section. this is the fourth, so i can have one coming off each direction from the crossroads.

Ruins12a.jpg

the corner ruin is a 3d print from culverin models, via etsy. i added extra bricks around the outside, cut from cork tile, to try and match the cast on ones on the floor inside.

Ruins12b.jpg

the tower is based on a (short) section of pringle tube; the remainder of the one used on my three towers build, i suspect. various types and thicknesses of card were used for the exterior stone work with some more cork tile building up the parapet into a more irregular shape. the interior is plastered with some exposed stonework and the ground floor is eggbox card flagstones, but you can't see any of that in these photos. stairs from foamcore and the first floor is coffee stirrer planks on matchstick beams.

Ruins12c.jpg

road as before and more home made craters.

Ruins12d.jpg

the corrugated iron barricade is corrugated card wrapped around a slightly shorter piece of foamcore, with some of my gravel mix glued into the gap to give the impression it has been filled with rubble for greater protection against incoming fire.
i hope to make another corner section next, and then am considering some incomplete straight sections. that will all depend on the muses keeping me inspired to continue with these ruined tiles.
 

twisted moon

Moderator
thank you all.
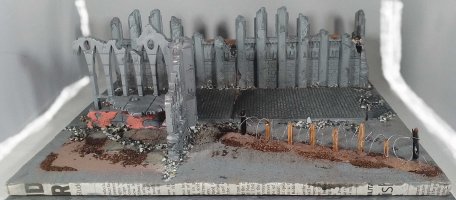
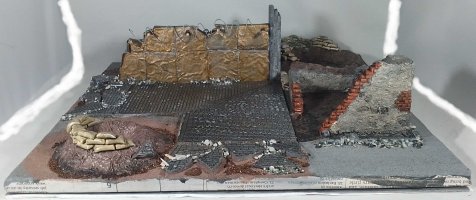
another road corner this time.

Ruins13a.jpg

road sections as before, the crater in the foreground is home made as per previous posts with milliput sandbags added to turn it into a makeshift defensive feature. the wall is cork tile with sections of yogurt pot top foil to simulate metal panels, the ruin is a resin piece from hovels (h34).

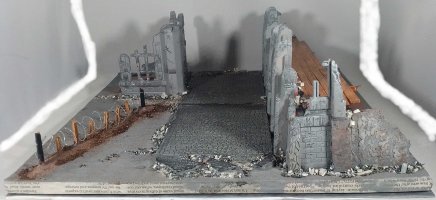
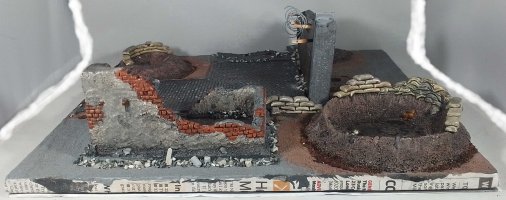
Ruins13b.jpg

the crater in the foreground is from the second warzone battlefield trenches and foxhole set (both sets now completely used) with additional milliput sandbags.

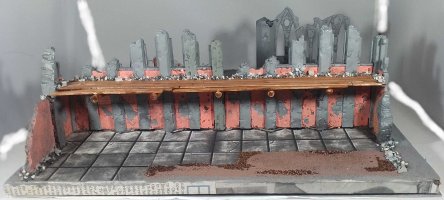
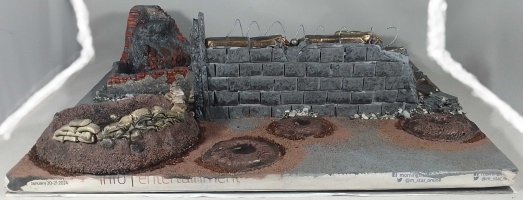
Ruins13c.jpg

the brickwork is egg box card, the three small craters are home made from card and tinfoil. i had a tiny bit of milliput left over from the sandbag batch, so made a cannon ball.

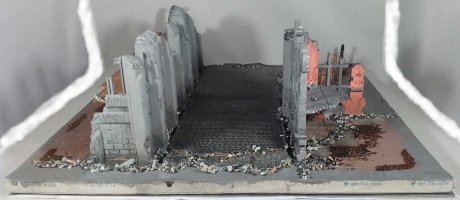
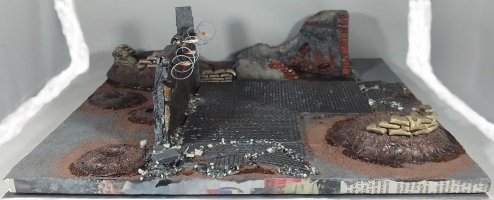
Ruins13d.jpg

a few cork tile brick hopefully indicate that the wall was longer before it was damaged. i nearly forgot to add the barbed wire, but fortunately caught myself last night.
 

twisted moon

Moderator
i may have said in previous year's threads (but, then again, i may not). they're 30 cm square polystyrene packing tiles, which i've tried to reinforce by coating with newspaper.
here's another.
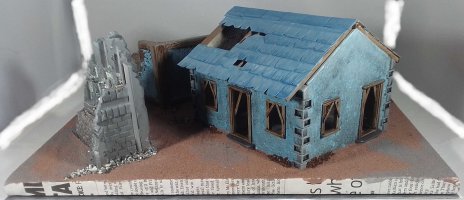
Ruins14a.jpg

no road this time. the roofed building is from plasticville and is intended to be under construction. i added the (card) tiles to the provided roof beams. in restrospect i should have added a chimney breast, but there's not a lot of spare wall space to do so, even if it had occurred to me earlier.
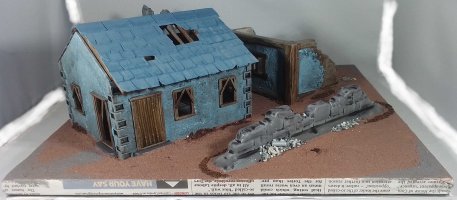
Ruins14b.jpg

i also barricaded one of the doors (as i thought two were sufficient) - corrugated card on the outside, coffee stirrer planks on the inside.
the wall is another amera plastic moldings one.
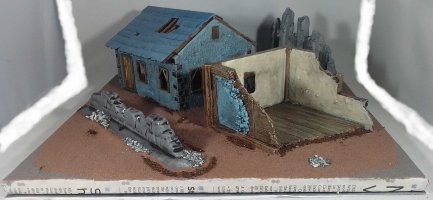
Ruins14c.jpg

this ruined building in a resin piece. i picked it up a t a show many years ago and cannot now remember the manufacturer; there was no label in the plastic bag it came in.
i plastered the inside of both buildings to provide some texture.
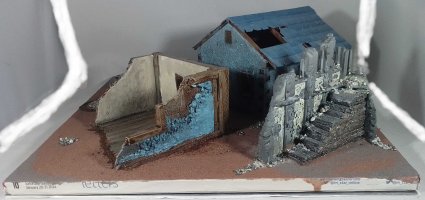
Ruins14d.jpg

another wh40k ruined wall section completes the tile, this time with added cork tile staircase.
 

twisted moon

Moderator
another.

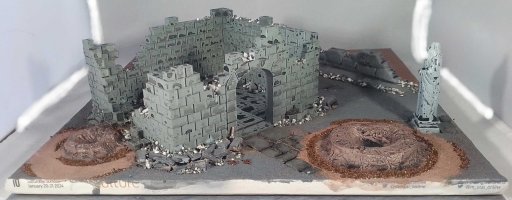
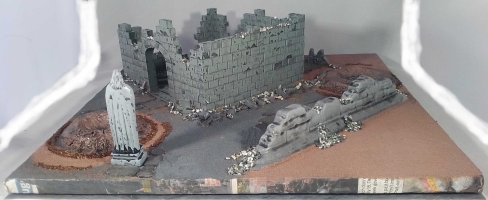
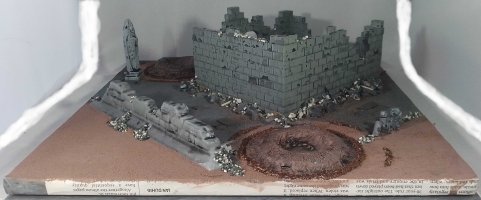
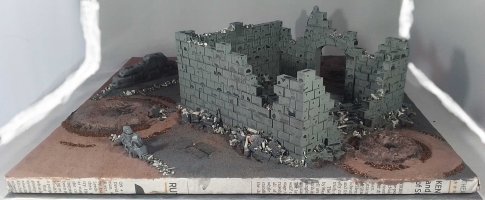
Ruins15a.jpg

the ruin is also a 3d print from culverin models via etsy.

Ruins15b.jpg

the statue is from the osgiliath ruins set.

Ruins15c.jpg

another of the wall sections from amera plastic moldings.

Ruins15d.jpg

a short section of injection molded plastic ruin, from i'm not quite sure where, but almost certainly gw.
that gives me 7'x5' of ruined city terrain; another ten tiles to go. however, i'm going to have a break, partly because i fancy doing something different for a while, but also because i need to increase my storage facilities for these.
 

ManicMan

Member
and at some point, you are gonna have to sort out a big enough free table space for a look at them set up ^_^ looking good as ruined cities
 
Back
Top