Michael Stockin
Lord
That is brilliant, thank you!
Loved the other topic and great buildings in there too!
Loved the other topic and great buildings in there too!
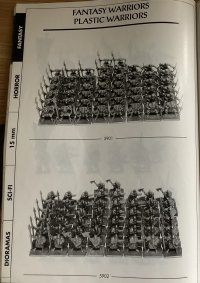
Cheap, oldschool (have been around since early 90's ...?), monopose plasticsWhat's an EM-4 Orc? They look heroquesty, I kinda like the goofy teeth.
and those orcs are offensively cheap it would be rude for me to not buy some.
Was it the dwarfs that came after the fact to be in the same style? or the halfings? I though dwarf were the first lot but probebly wrong with that ^_^They're from the Fantasy Warriors boxed game Grenadier released.
Beat me to it…They're from the Fantasy Warriors boxed game Grenadier released.
The boxed set was dwarfs vs orcsWas it the dwarfs that came after the fact to be in the same style? or the halfings? I though dwarf were the first lot but probebly wrong with that ^_^
fair enough ^_^The boxed set was dwarfs vs orcs
So I have to build my own.
So you would have taken the easy way outThat looks like a right nightmare. I think I would have used real chain with very fine wire threaded through it and then superglued it all. Not as strong as your method but thinner. For balls maybe small polystyrene ones due to weight?