
Blog: Malacassa's Oldhammer Blog
Owner: Malacassa
Author: Rob D
Post: Toll Collecting


Brutus once again lives up to his reputation and dispatches the hobbit guiding the pigs. The other combats are inconclusive.


The combats go back and forth but the hobbits continue to move their smuggled loot towards the safety. But not all things go all the hobbits way as Paladin is wounded (By the black hat ruffian) and he fails both of his fate rolls. 
I managed to miss taking pictures for a couple of turns but Paladin and couple of the hunters hold up up the ruffians while the first cart escape. And then Brutus and one of the ruffians take down Paladin but it is almost to late for them too stop the hobbits.

The ruffians pass their Courage test and continue their pursuit of the hobbits.


After the battle Paladin made a full recovery and gains a point of Might, proving that Tooks are tough! But he did have to use one influence point to recover all of his Fate.

Brutus did gain a bit more experience but will have explain his failure to Sid.

Rob
Continue reading on Malacassa's Oldhammer Blog
Owner: Malacassa
Author: Rob D
Post: Toll Collecting
Not as Easy as the Ruffians Think!
Time to go off script and play a scenario around the toll booth. So, the toll booth was set up with a ruffian on duty and three sets of hobbits attempting to smuggle contraband pass the check point. In the guard hut were six ruffians including Brutus. And lurking on the southern baseline was Paladin Took and three Tookish hunters.
Background
Paladin Took has realised that the ruffians are gathering up all of the winter supplies and so has arranged for spare stores to be brought to the deep holes of Took clan. He has planned to meet the brave farmers prepared to break the rules just past the checkpoint. So, if necessary he can help if needed.
No specials or force changes were made as this is my scenario. So, it is (mostly) my fault if it isn't balanced.
No specials or force changes were made as this is my scenario. So, it is (mostly) my fault if it isn't balanced.
Pigs
The pigs have a move of 4” and are moved by the player with priority. Unless there is a mini with 1” of the pig in which case take a courage test, if passed then the pig can be moved 4” in the direction of the controlling player. Otherwise the player with priority moves them. Neither side may harm the pigs.
The Battle
The hobbit's attempt to smuggle through the check point was done using a card system. The deck was divided into red (hobbits) and black (ruffians)cards. Three cards in turn were turned over for each side with the highest card in each pair winning that pair. So, if the hobbit wins two of the three pairs then the hobbit has managed to convince the ruffian to let them through the checkpoint. If two of the smugglers manage to do this then it will be a very short game! As to win the hobbits need to get two supply carts off the southern base edge.

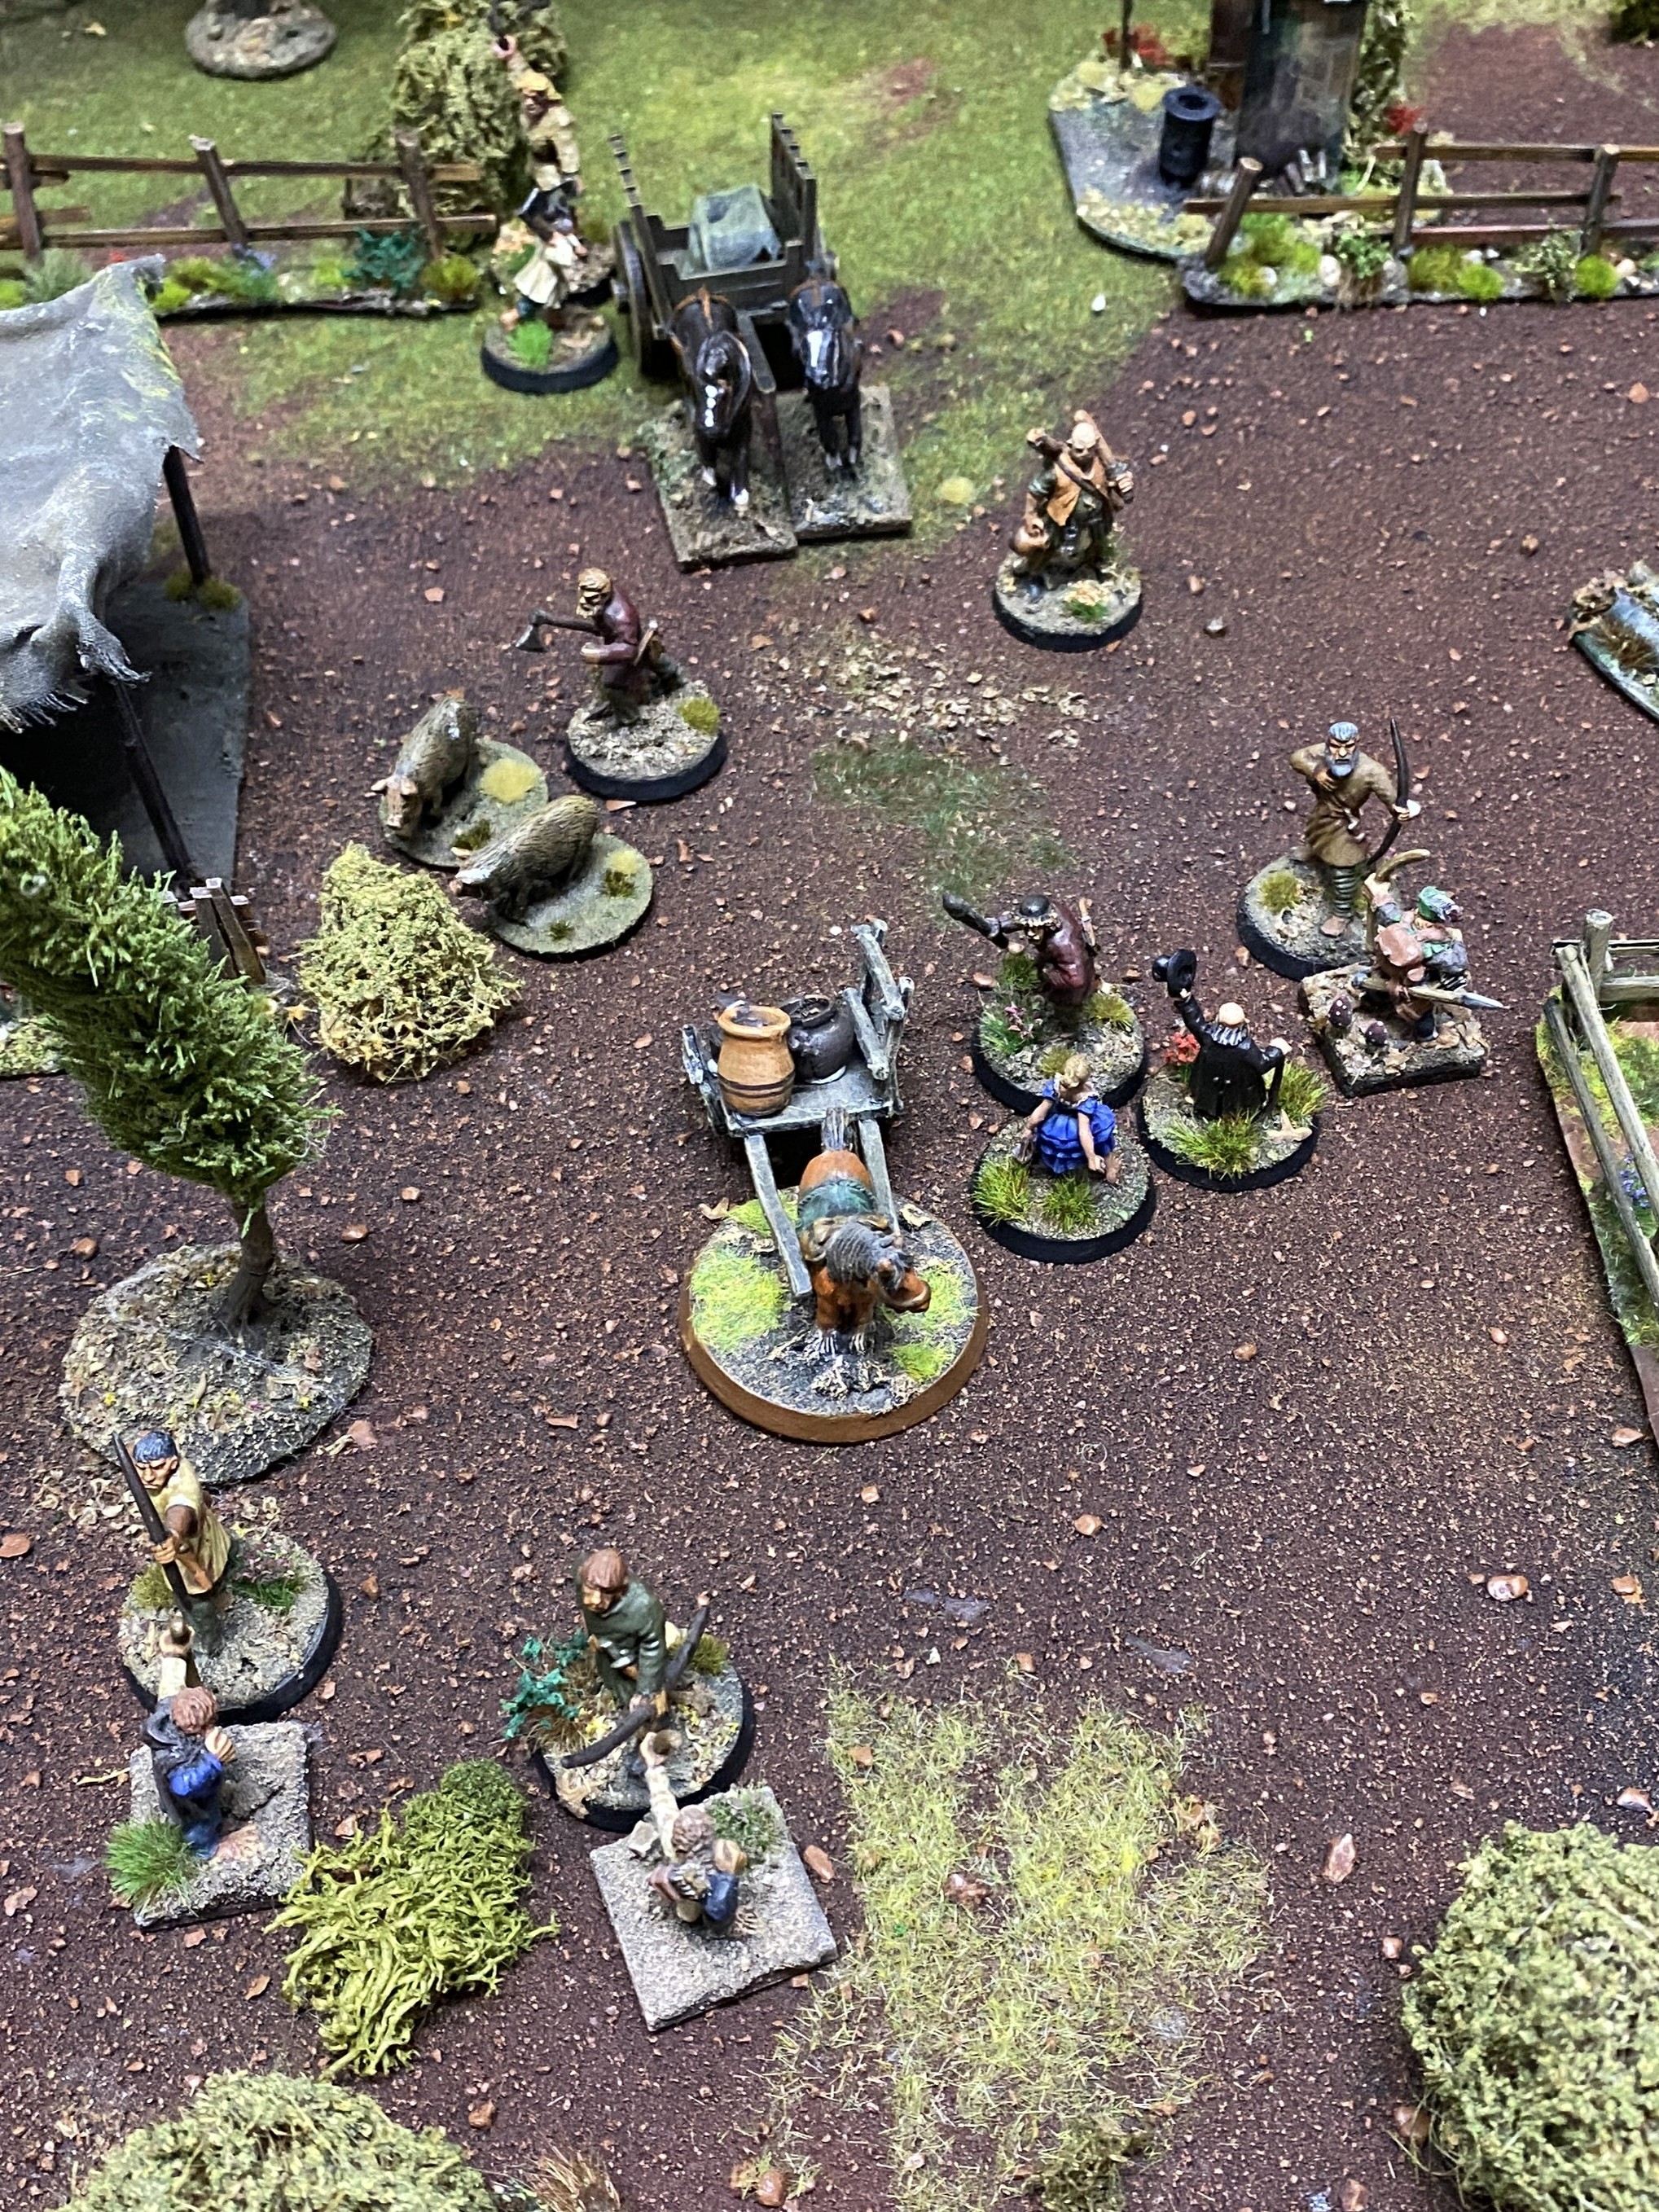
The game begins as the first hobbit approaches the toll booth.

The first cart is through as the hobbits win the first two pairs.

The second hobbit approaches with two pigs but things do not go to plan.


The hobbits lose the first hand and the second hand is tied (after the hobbits played their joker and drew a second card) but then they lose the third hand. So, the ruffian raises the alarm. Now, ruffians rush from the guard hut and Paladin goes to investigate.


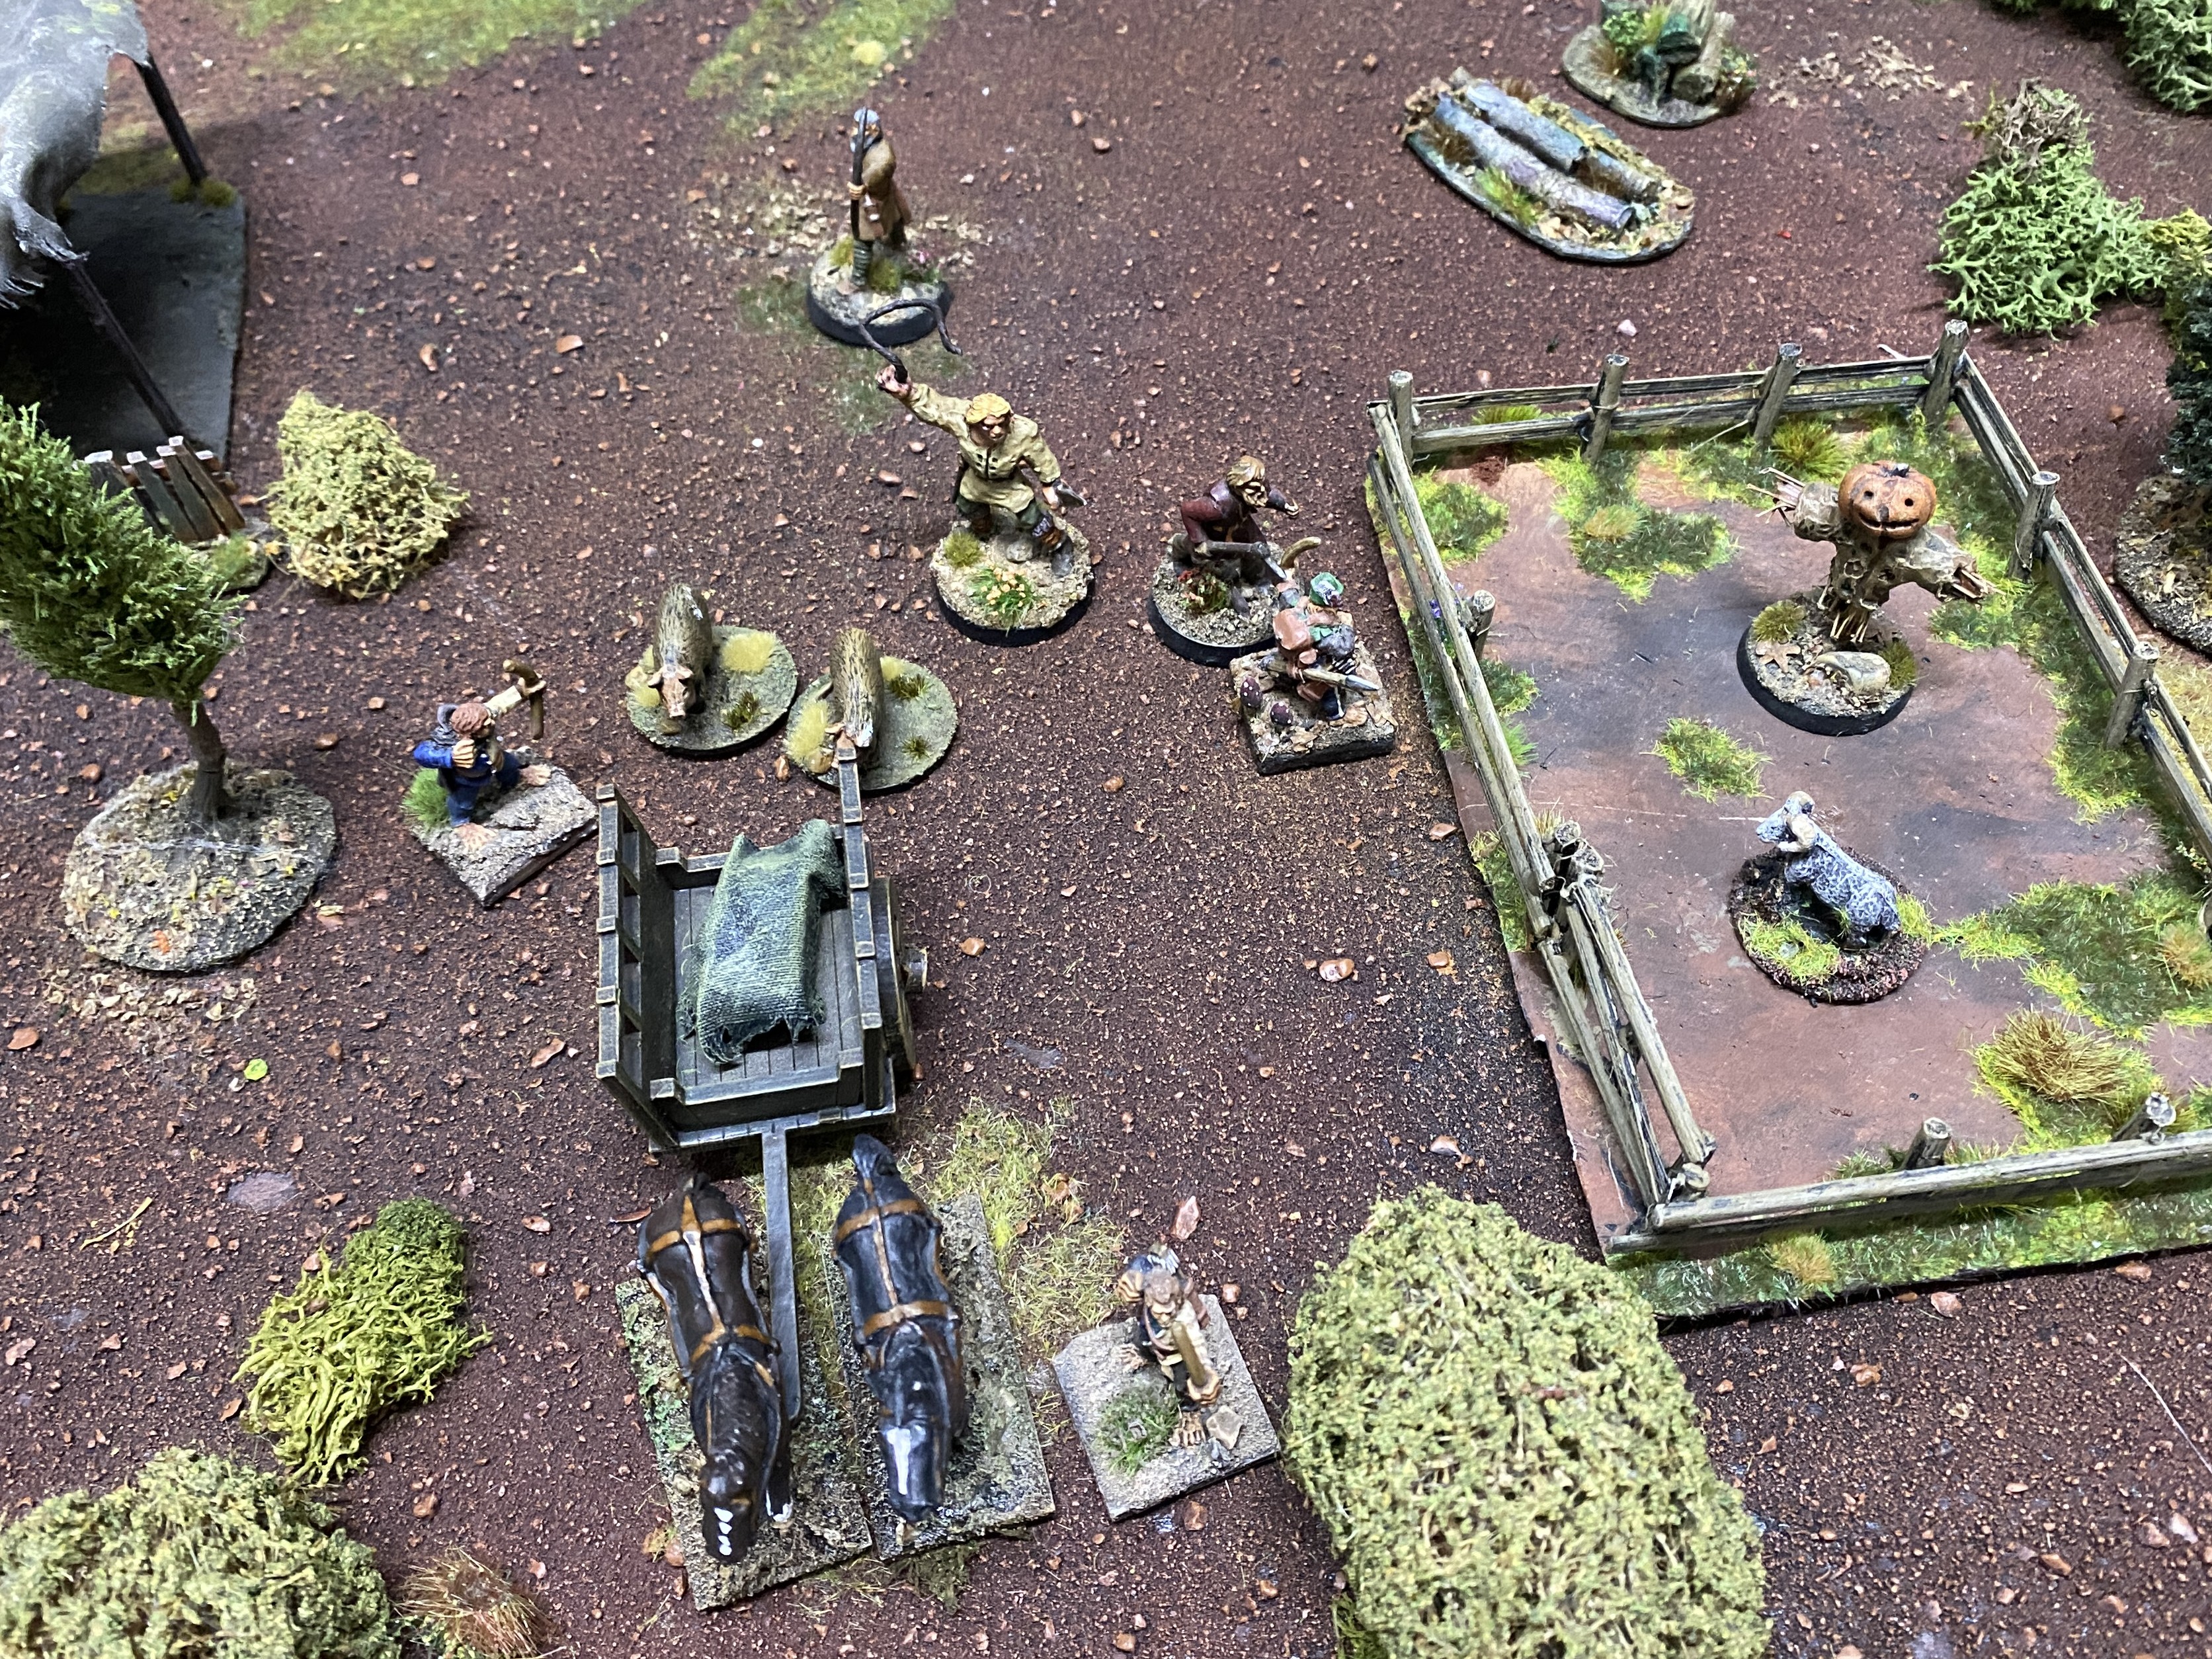
Brutus heads for the toll booth and the two of the smugglers. But sends most of his ruffians to deal with Paladin and his hunters. Both sides shoot quite a few arrows at each other but none manage to find their target in the entire game.

Brutus once again lives up to his reputation and dispatches the hobbit guiding the pigs. The other combats are inconclusive.

The hobbits were generally luckier with priority and ruffian attempting to herd the pigs cannot get them stop following the cart towards the hobbit baseline.

The combats go back and forth but the hobbits continue to move their smuggled loot towards the safety. But not all things go all the hobbits way as Paladin is wounded (By the black hat ruffian) and he fails both of his fate rolls.
I managed to miss taking pictures for a couple of turns but Paladin and couple of the hunters hold up up the ruffians while the first cart escape. And then Brutus and one of the ruffians take down Paladin but it is almost to late for them too stop the hobbits.

The ruffians pass their Courage test and continue their pursuit of the hobbits.
Brutus realises he is in big trouble if more of the hobbits escape. So, he dashes all of his remaining rogues towards the remaining hobbits.

Brutus managed to catch the cart handler just as he reaches safety. But is to no avail as the hobbit beats him back. The hobbits then win priority and the second cart escape. The remaining hobbit leaves the pigs to Brutus and disappears into the dusk.
And the hobbits have won.
And the hobbits have won.
After the Battle.

After the battle Paladin made a full recovery and gains a point of Might, proving that Tooks are tough! But he did have to use one influence point to recover all of his Fate.

Brutus did gain a bit more experience but will have explain his failure to Sid.

Rob
Continue reading on Malacassa's Oldhammer Blog