Mister Rab
Baron
Some of you may already have seen these on my blog, but I'm going to repeat myself here anyway ")
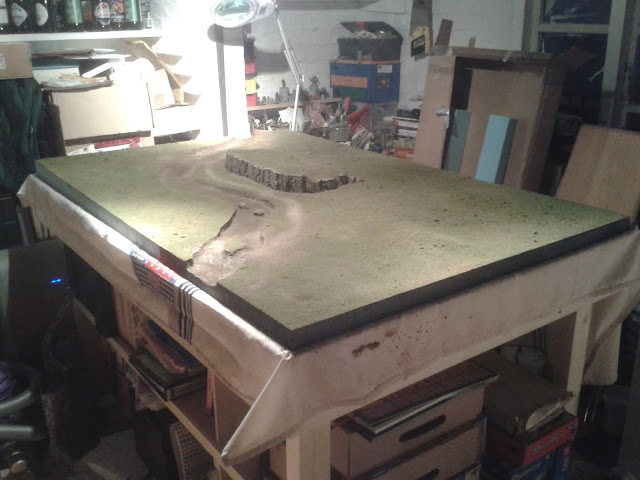
Last year I constructed the table itself, giving me a 1.5m x 1m sunken tabletop into which I intended to have some 1m x 0.5m terrain boards made from 50mm thick extruded polystyrene ("blue foam") that I would be able to place in different arrangements to give multiple landscapes to battle over. These would all be Northern European countryside in appearance as my main wargaming interests are all medieval/pseudo-medieval-fantasy. I also love the WFB/RT mashup in the Siege book, as well as having a vague scenario plan for a sci-fi big game hunt that goes sideways
So, planning the boards...
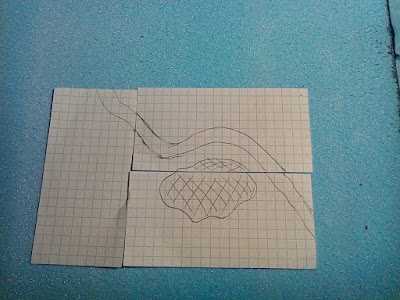
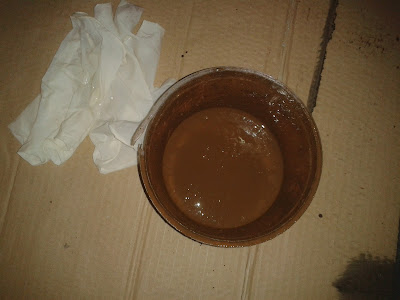
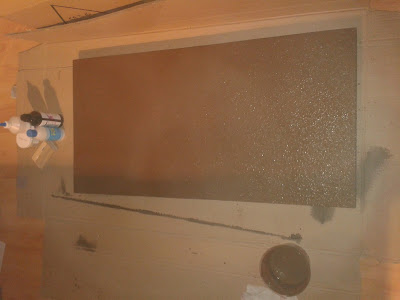
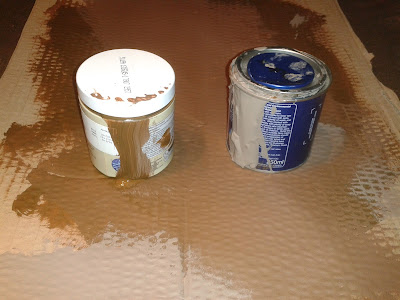
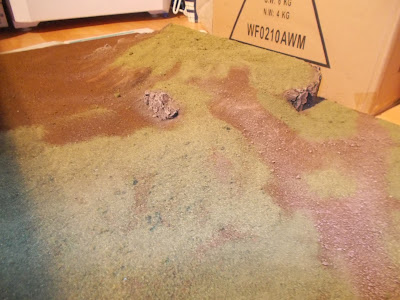
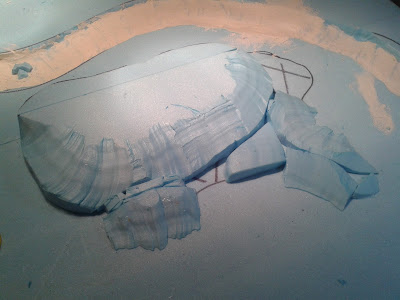
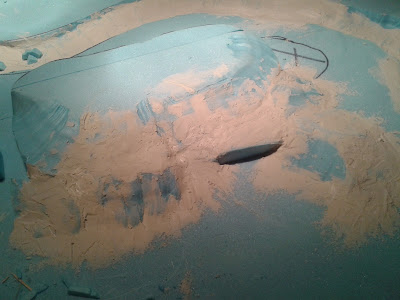
This layout was taken from the excellent 1000 Foot General blog and, after cutting the foam (using a low voltage power supply and some nichrome wire that I borrowed from my school's science lab to give an impromptu hot-wire-cutter), I used slightly watered down ready-mix plaster to give a smooth surface.
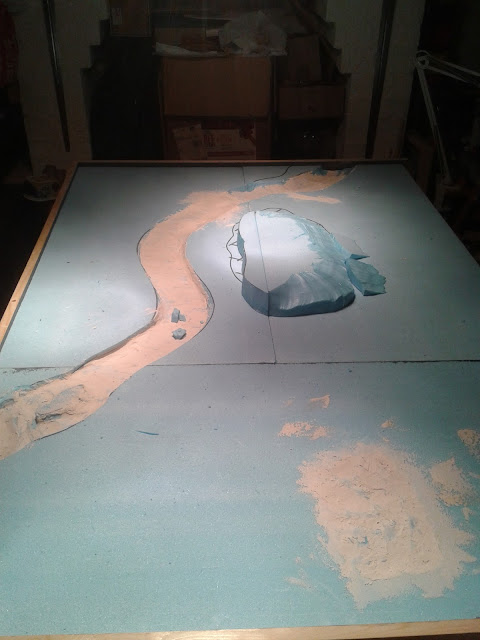
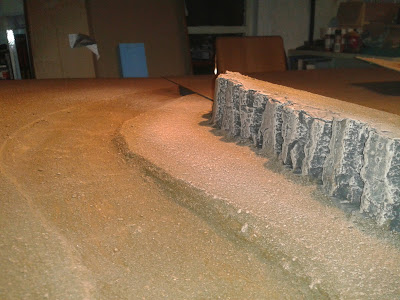
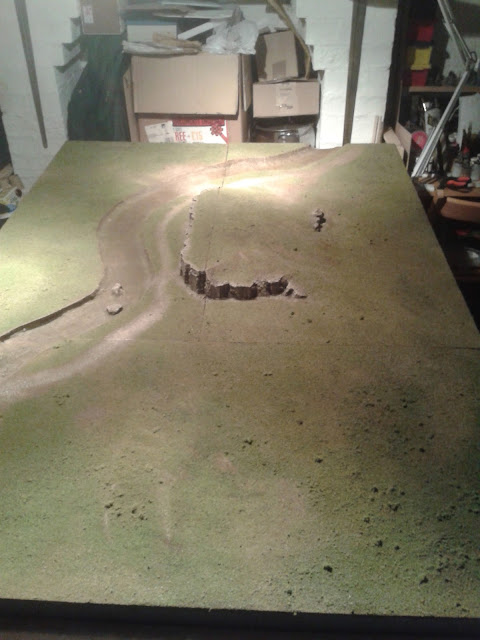
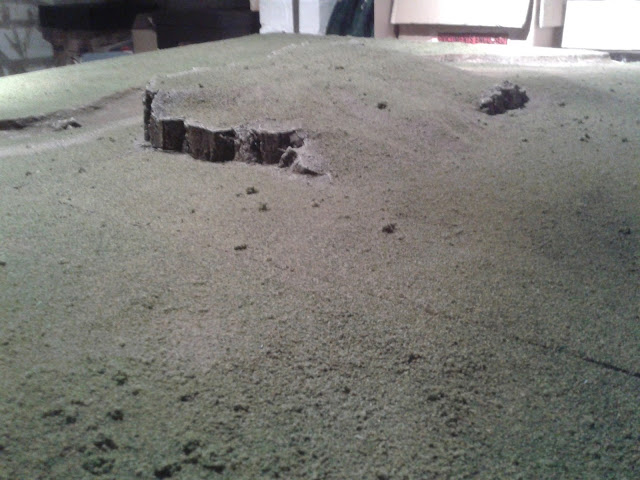
This was particularly important with the hill:
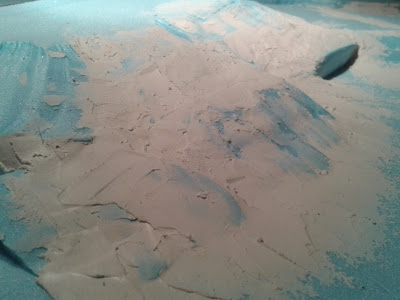
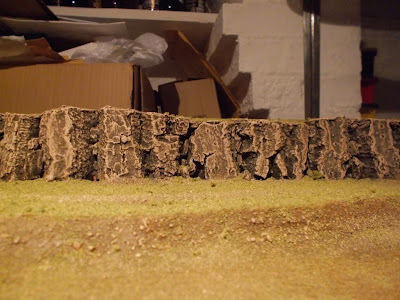
To give the rocky outcrops I used sections of cork bark, cut to size and blended to the hillside using the same plaster
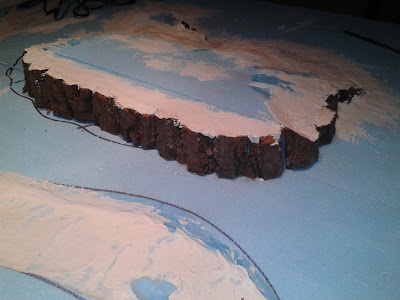
Obviously I tested it at this stage for figure stability, and was very relieved that they didn't fall over on the slopes I'd made!

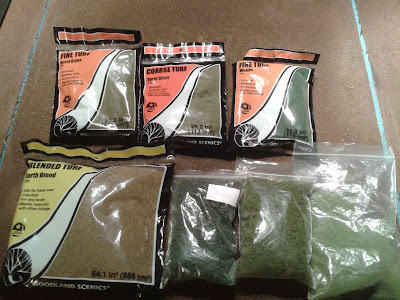
Next up will be texturing and painting the boards...
Last year I constructed the table itself, giving me a 1.5m x 1m sunken tabletop into which I intended to have some 1m x 0.5m terrain boards made from 50mm thick extruded polystyrene ("blue foam") that I would be able to place in different arrangements to give multiple landscapes to battle over. These would all be Northern European countryside in appearance as my main wargaming interests are all medieval/pseudo-medieval-fantasy. I also love the WFB/RT mashup in the Siege book, as well as having a vague scenario plan for a sci-fi big game hunt that goes sideways
So, planning the boards...
This layout was taken from the excellent 1000 Foot General blog and, after cutting the foam (using a low voltage power supply and some nichrome wire that I borrowed from my school's science lab to give an impromptu hot-wire-cutter), I used slightly watered down ready-mix plaster to give a smooth surface.
This was particularly important with the hill:
To give the rocky outcrops I used sections of cork bark, cut to size and blended to the hillside using the same plaster
Obviously I tested it at this stage for figure stability, and was very relieved that they didn't fall over on the slopes I'd made!
Next up will be texturing and painting the boards...